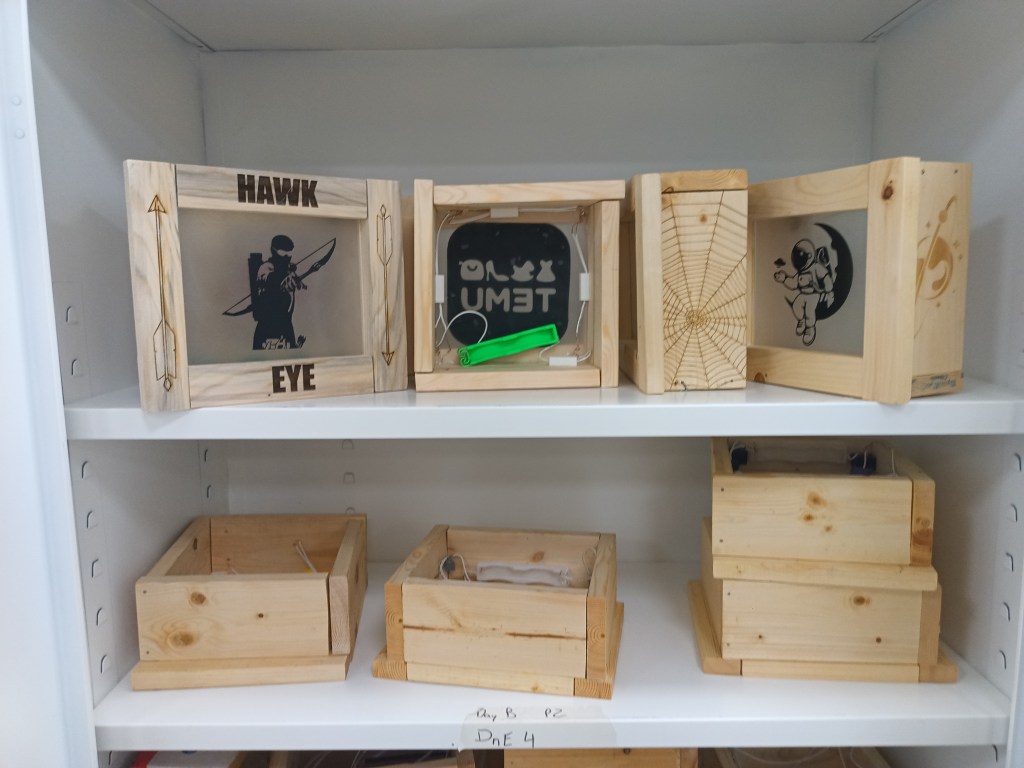
Students in our SW Junior High 3D Design and Engineering course are wrapping up the assembly of the light boxes they’ve been working on throughout the term. The project began with learning how to design scalable vector graphics in Adobe Illustrator and export them for cutting on our vinyl cutters. From there, students moved on to woodworking and measurement as they planned and built the frames and boxes.
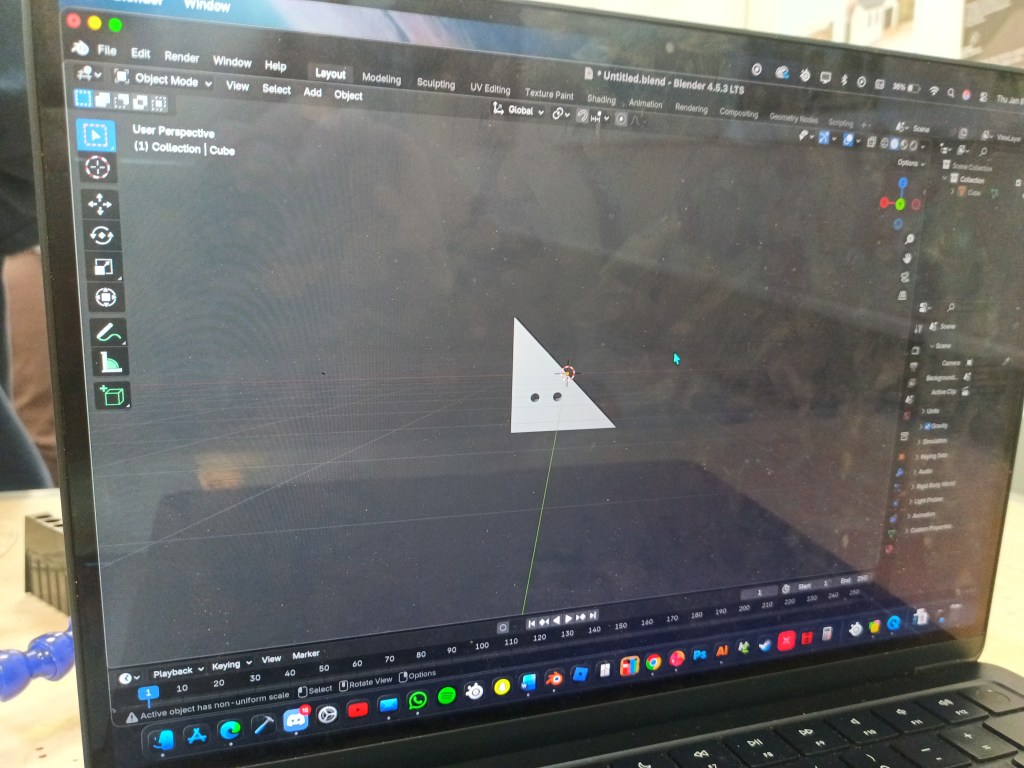
Using power tools in the makerspace, students cut and constructed their boxes, then cut, sanded, and fitted the plexiglass for the front panels. Next, the focus shifted to 3D design and printing using one of several CAD software options: Fusion, OnShape, Blender, or SketchUp. Students selected the software they wanted to learn based on their personal interests and future goals. They completed tutorial assignments and designed a name tag before creating custom brackets for their light boxes.
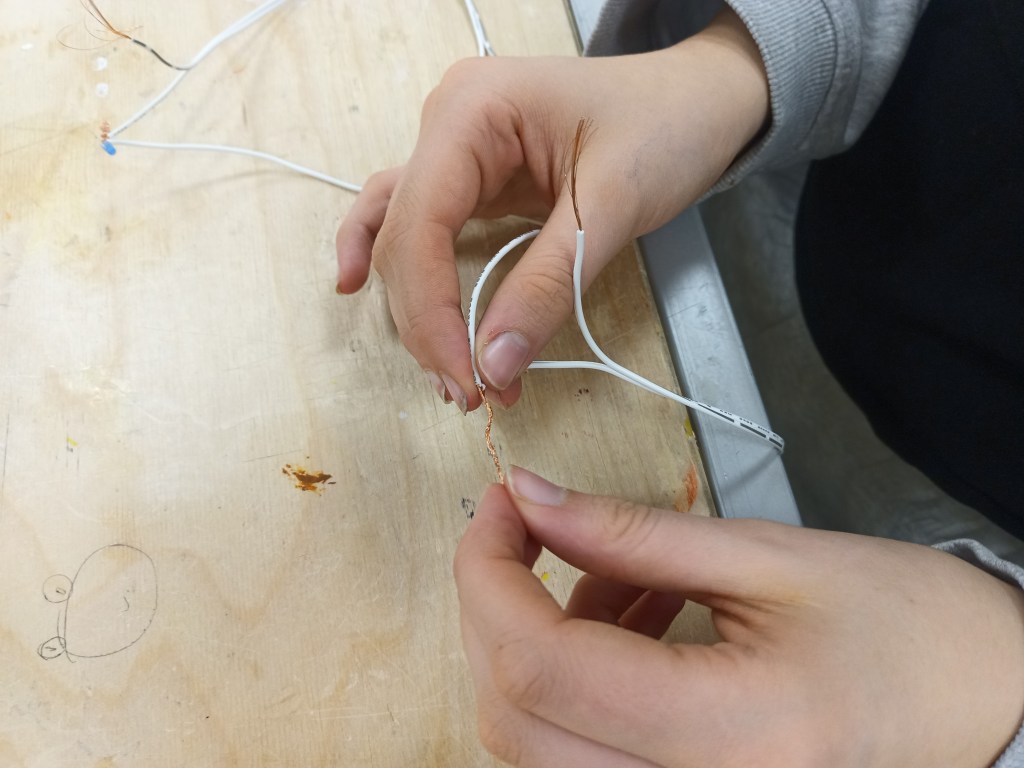
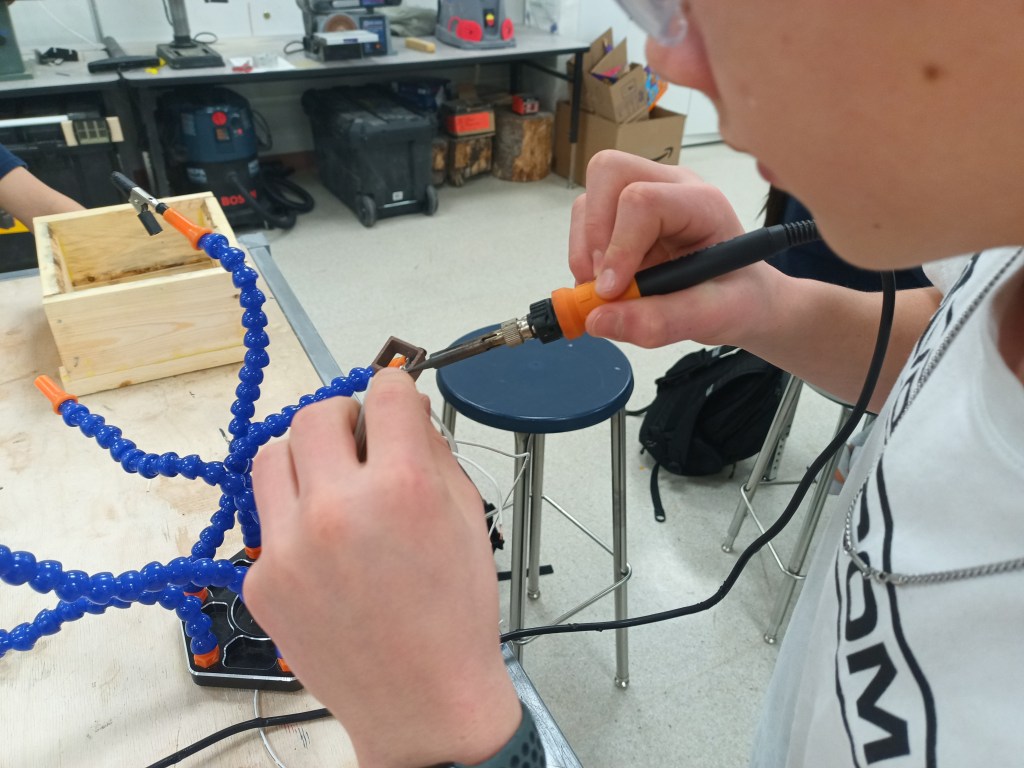
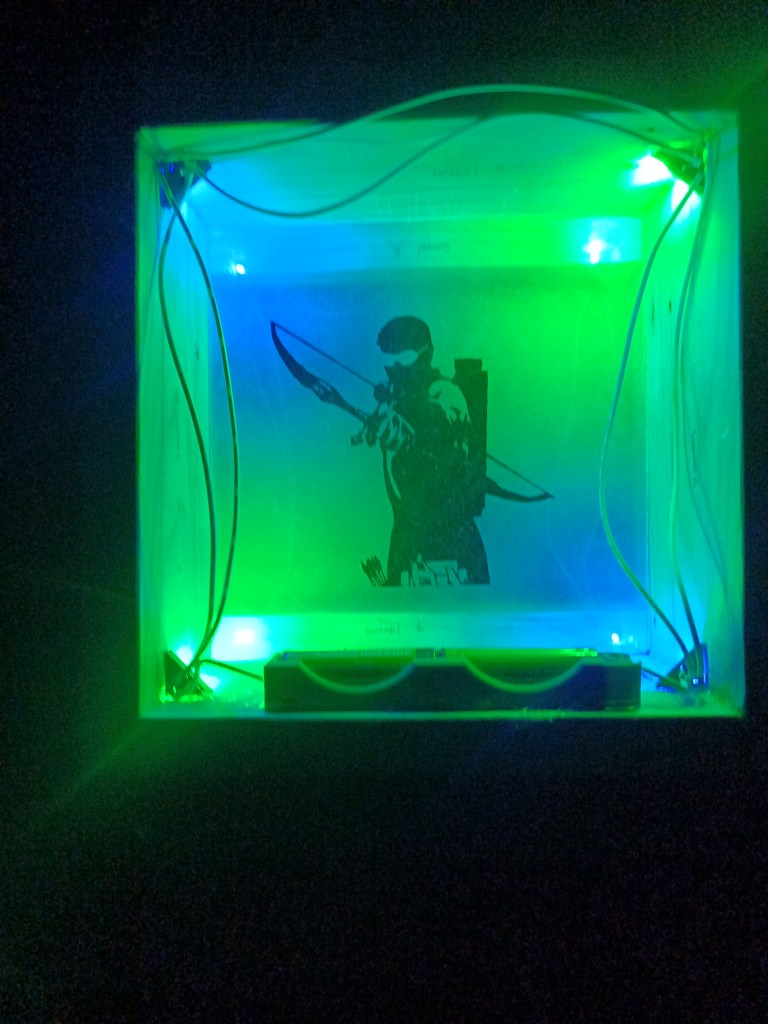
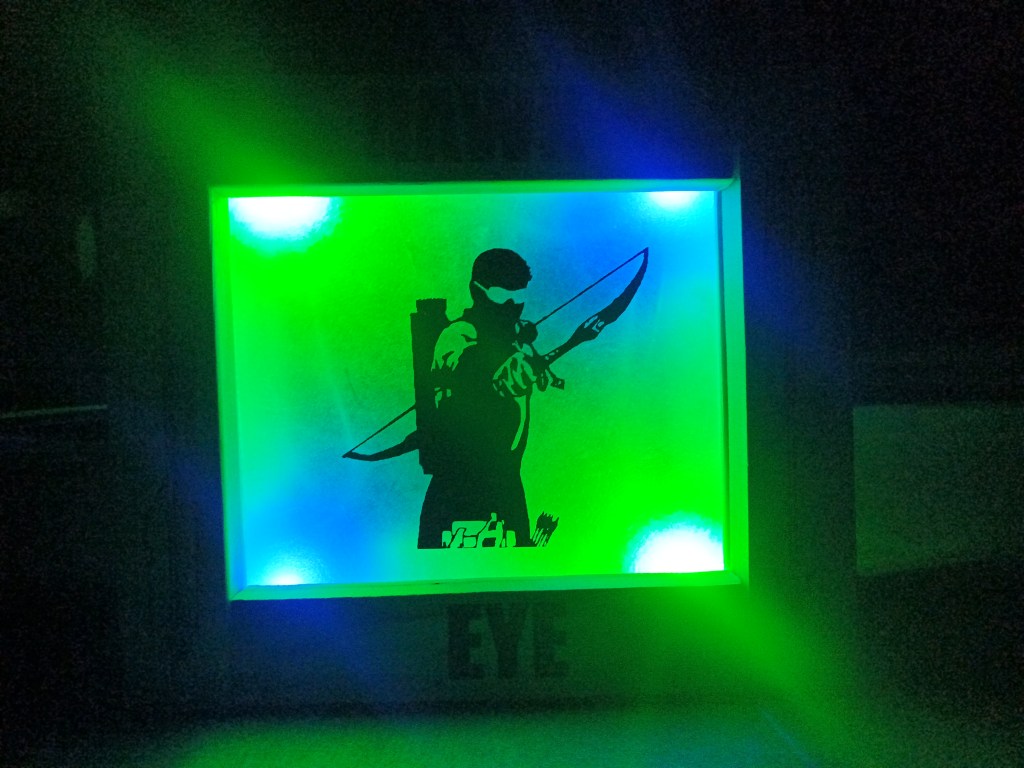
The final phase involved wiring an LED circuit to backlight their designs. Students learned how to solder, calculate resistance for different LEDs in a 3-volt circuit, and assemble the components safely and correctly. The project brought together a wide range of skills, including design, vinyl cutting and application, 3D modelling and printing, woodworking, soldering, and circuitry.
The finished light boxes are looking great, and there are audible cheers each time one finally illuminates, as students celebrate the fruits of their labour.
This blog post was enhanced with Chat GPT using the prompt, “clean up ths blog post for spelling, grammar and flow.” on January 9, 2026.