Students in our Biomedical Engineering 9 course have been researching, designing, and creating prosthetic leg prototypes for their Prosthetic Leg Challenge. Students began the Explore phase of our Design Process by Researching and Brainstorming the anatomy of the leg and different types of prosthetics, focusing on their chosen design area (hip down or knee down). Student teams then discussed the key features they wanted to include in their prosthetic design, such as comfort, adjustability, aesthetics, and functionality.
Next they moved into out Create and Solve Phase of the Design Process by making some Initial Sketches on scratch paper, where each team member quickly sketched their vision for the prosthetic, highlighting any innovative features or solutions. These were then shared among the team to discuss the merits of each idea and find a consensus design.
Our next phase was to Draft the Blueprint (Create and Solve Phase). The best ideas from the initial sketches were selected and a more detailed blueprint on chart paper was produced as the team’s design declaration. They included key components such as the attachment mechanism, structural support, joints (if applicable), and any unique features. They were labelled with colours to differentiate the materials, and measurements to show scale.
The final stage of our Design Process is Showcase, here students annotated their blueprints with notes about materials, design rationale, and any special features or considerations.
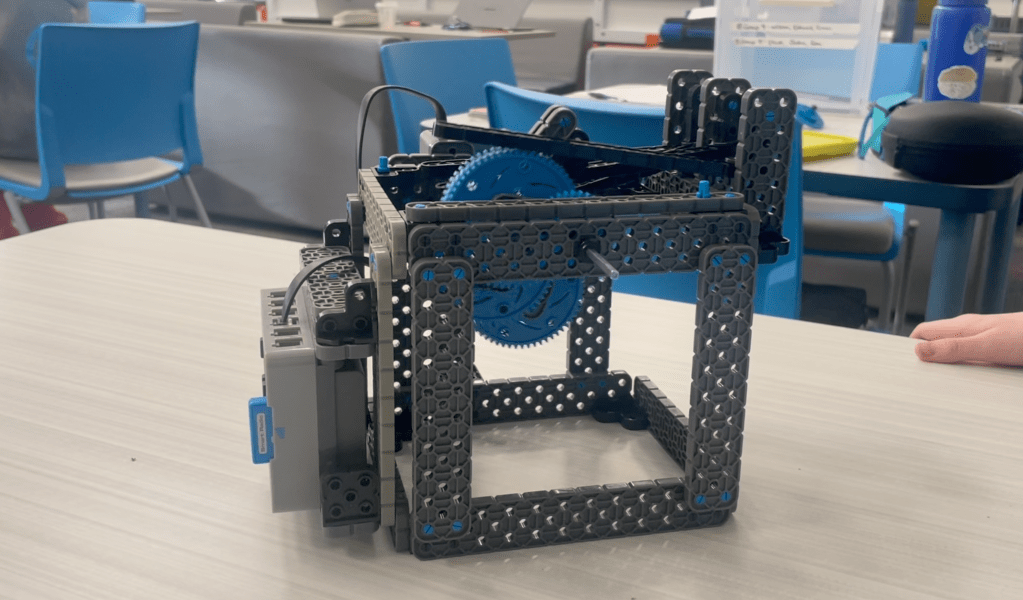
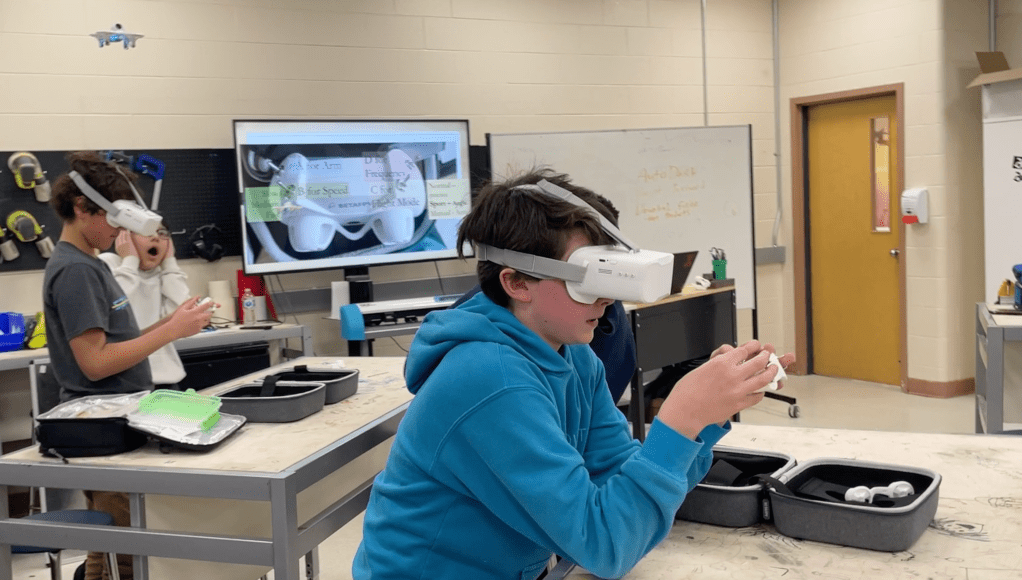
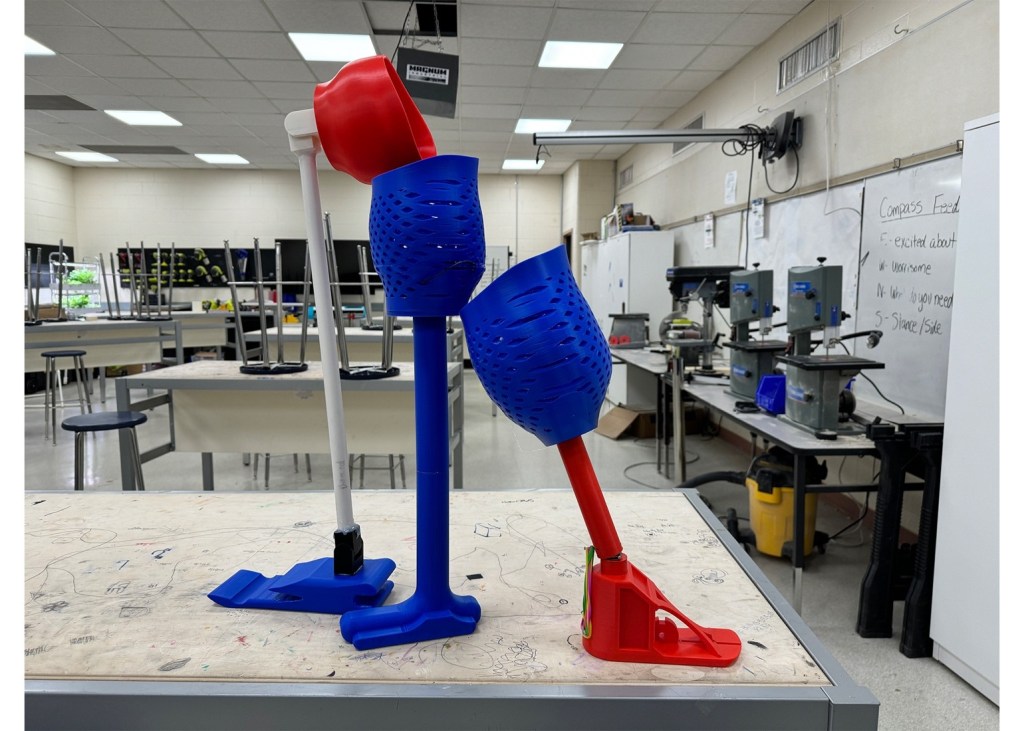
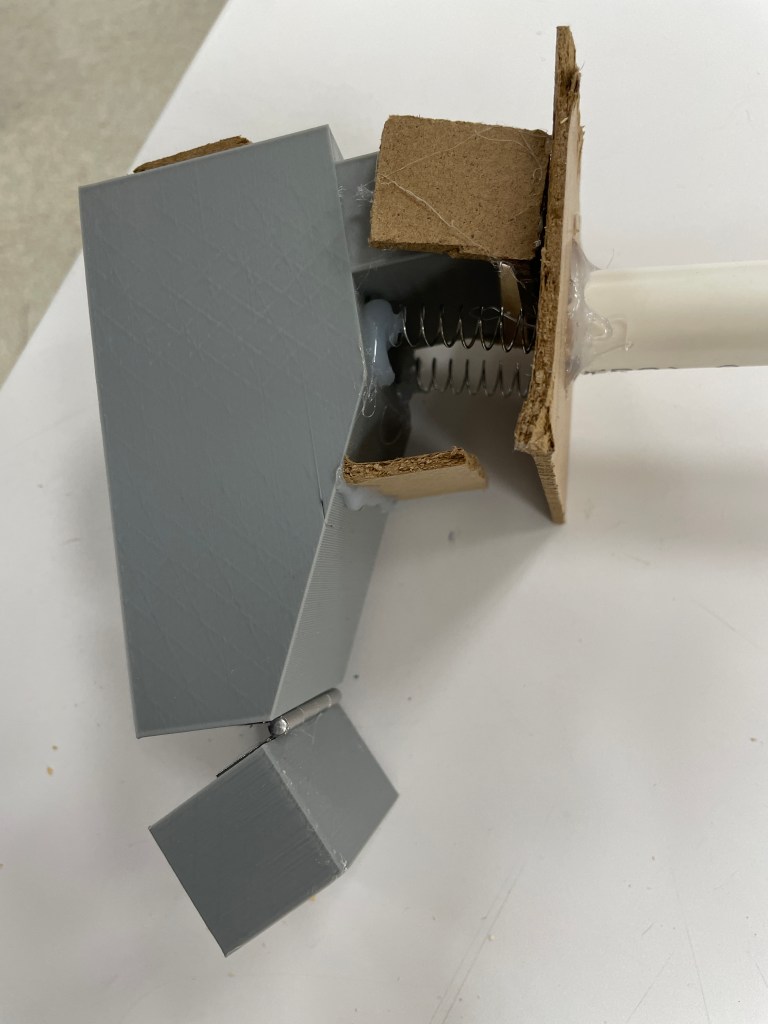
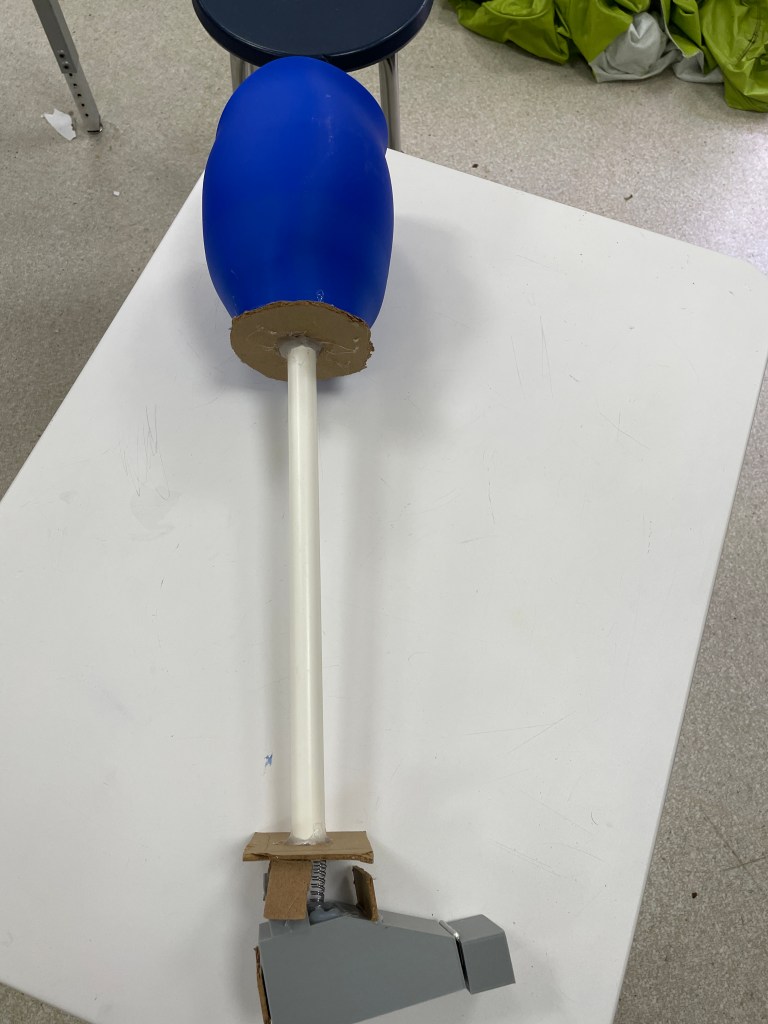
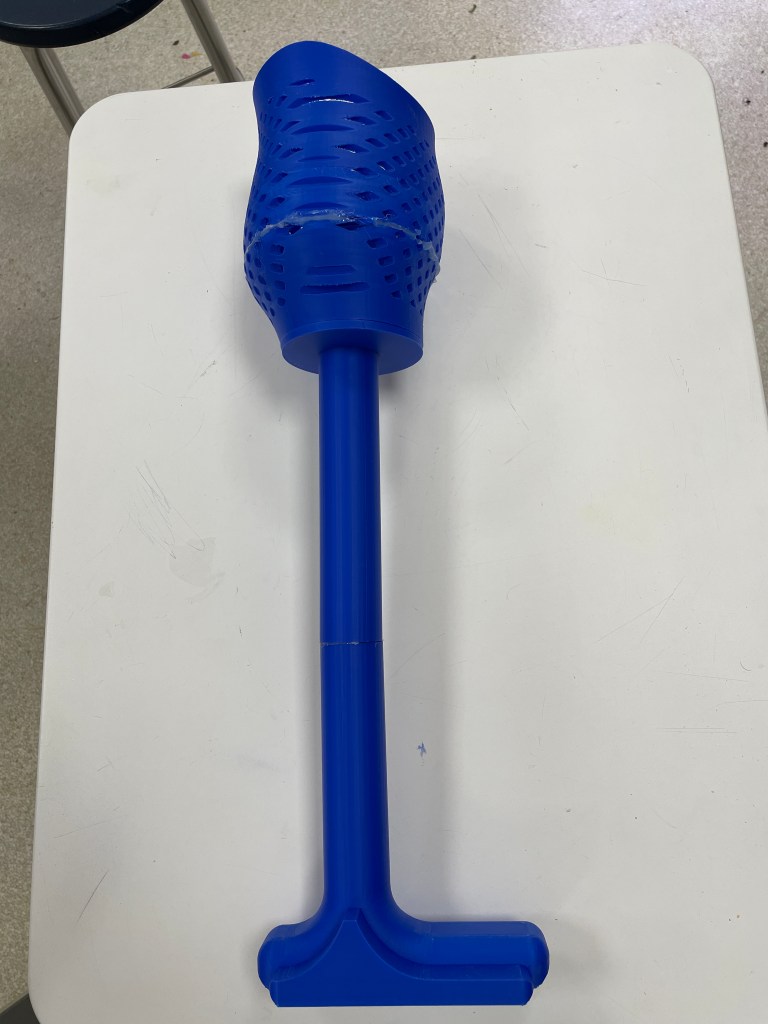
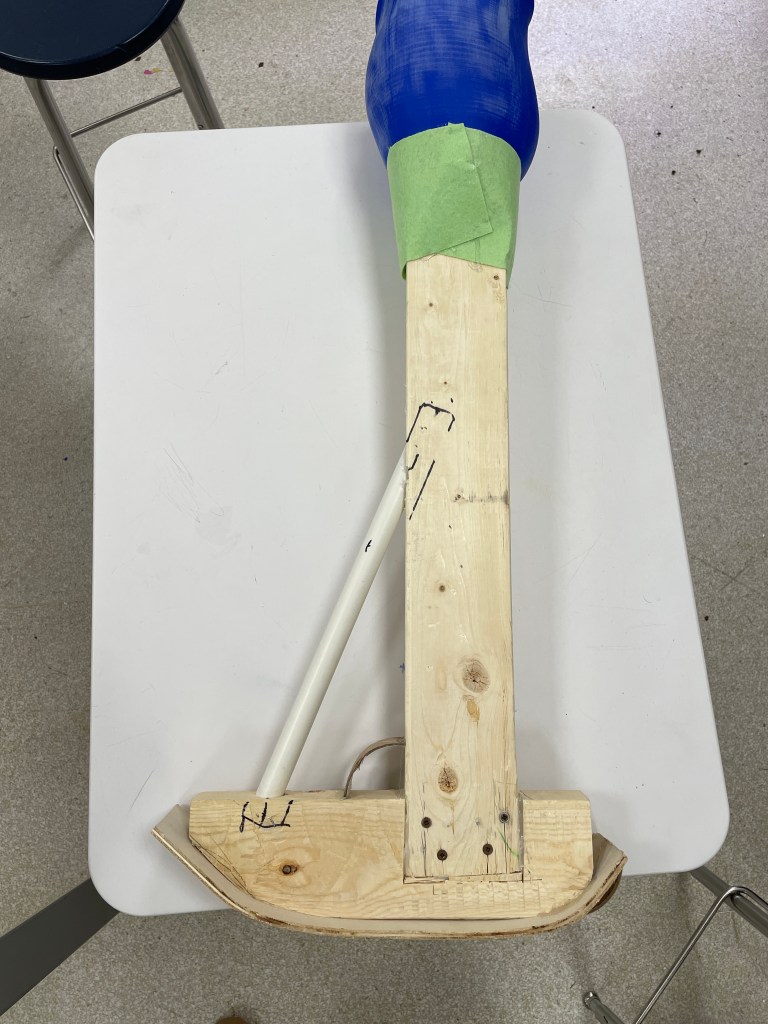
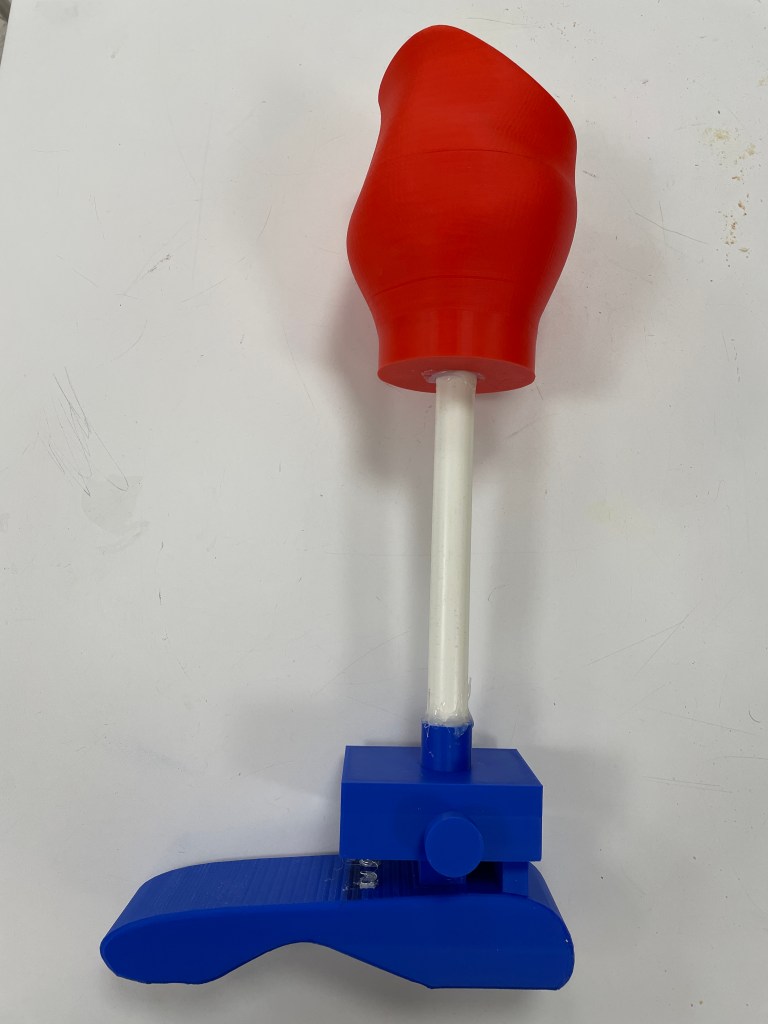
With their designs complete and shared to the Schoology Classroom, student teams began building their prostheic leg prototypes in our Maker Space using some simple prototyping tools and materials. It has been great to see the students creativity and empathy come to life through their designs. Springs, hinges, plumbing pipe, 3D printed sockets and parts combined to create some excellent looking prototypes.

●